

Here is how we rated Rovers’ individual performances at the Keepmoat. Let us know what you think on Twitter @FreePressRovers.
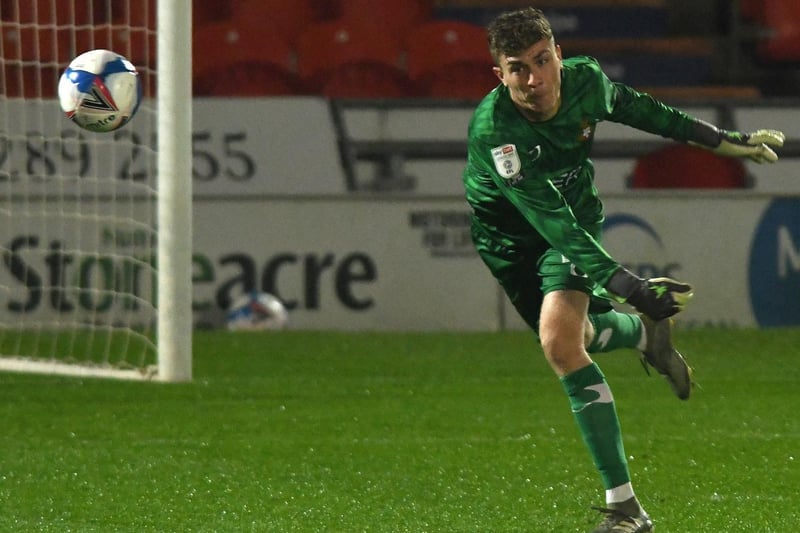
1. Louis Jones 6
Caught somewhat flatfooted for the Charlton goal but his defence failed to deal with the threat initially. Strong in the air and looked to get the ball out quickly. Photo: AHPIX Ltd
2. Brad Halliday 6
Did well in his battle with Jaiyesimi and pushed up the pitch as Rovers chased the game. Photo: AHPIX Ltd

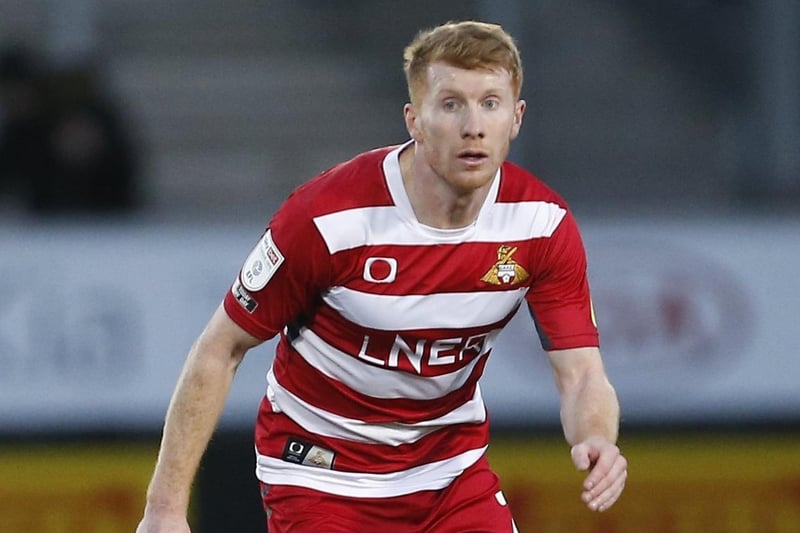
3. Joe Wright
Defended largely well against a lively Charlton front line but was complicit in the visitors’ goal when he failed to react after Anderson missed his header. Forced off injured. Photo: AHPIX Ltd
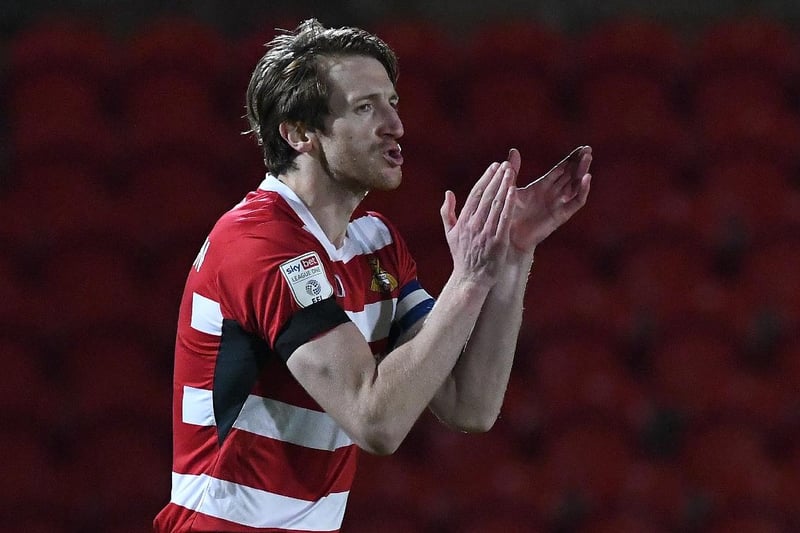
4. Tom Anderson 6
Handled the height of Stockley well for much of the game and barked out orders. Photo: AHPIX Ltd
1 / 4